˗ˏˋ Character Dial´ˎ˗
If you’re like me and prefer using custom dialed/sculpted characters that don’t follow any of the main figure shapes, clothing is a pain in the ass. Unless you want to spend the time creating custom morphs to match your figure, dialing in the character with dForce and timeline saves your sanity.
Most of the clothing items I’ve created actually work better with this method (mainly because I am broke and don’t own a lot of the Official Characters) and it often has some unexpectedly fun results with even simple items from other creators.
There are better tutorials out there than what I could manage to explain on how to create a custom master dial for your morph mixes, but you can also use this trick with a shaping preset.
1. Once again, you want the same simulation settings for Animated Timeline.
Get your pose lined out (and double check it with the character you want to use) on Frame 0. Then make sure your figure is devoid of morphs. You want it be the base shape and nothing else.

2. Drag your trackbar over to Frame 10 or 15.
The slower you do this, the more it’ll fit to your character. Do it fast and you’ll get an oversized look, many times (sometimes you still will anyway), or some interesting movements. Make sure you give enough space after the dial-in for the clothing to ‘settle’ on your figure if you’re not trying to add movement into the mix.
For this, I went with a halfway point to allow time for the drape to finish.
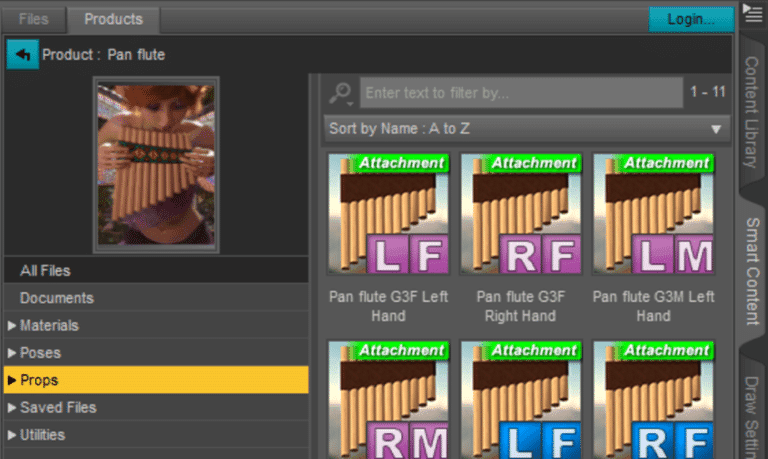
3. Set your dial to 100% or load in your shaping preset on this frame.

Aaand now you see those lovely mesh deformations. Delightful, aren’t they? Most of the time, those will ‘fall out’ with dForce, but sometimes they’re persistent nightmares I don’t have the willpower to fix on every single item for all of my characters.

dForceTricks 3 03
You can double check everything is working by dragging your trackbar back and seeing if the figure slowly reverts to base shape. If it is, then run your sim.


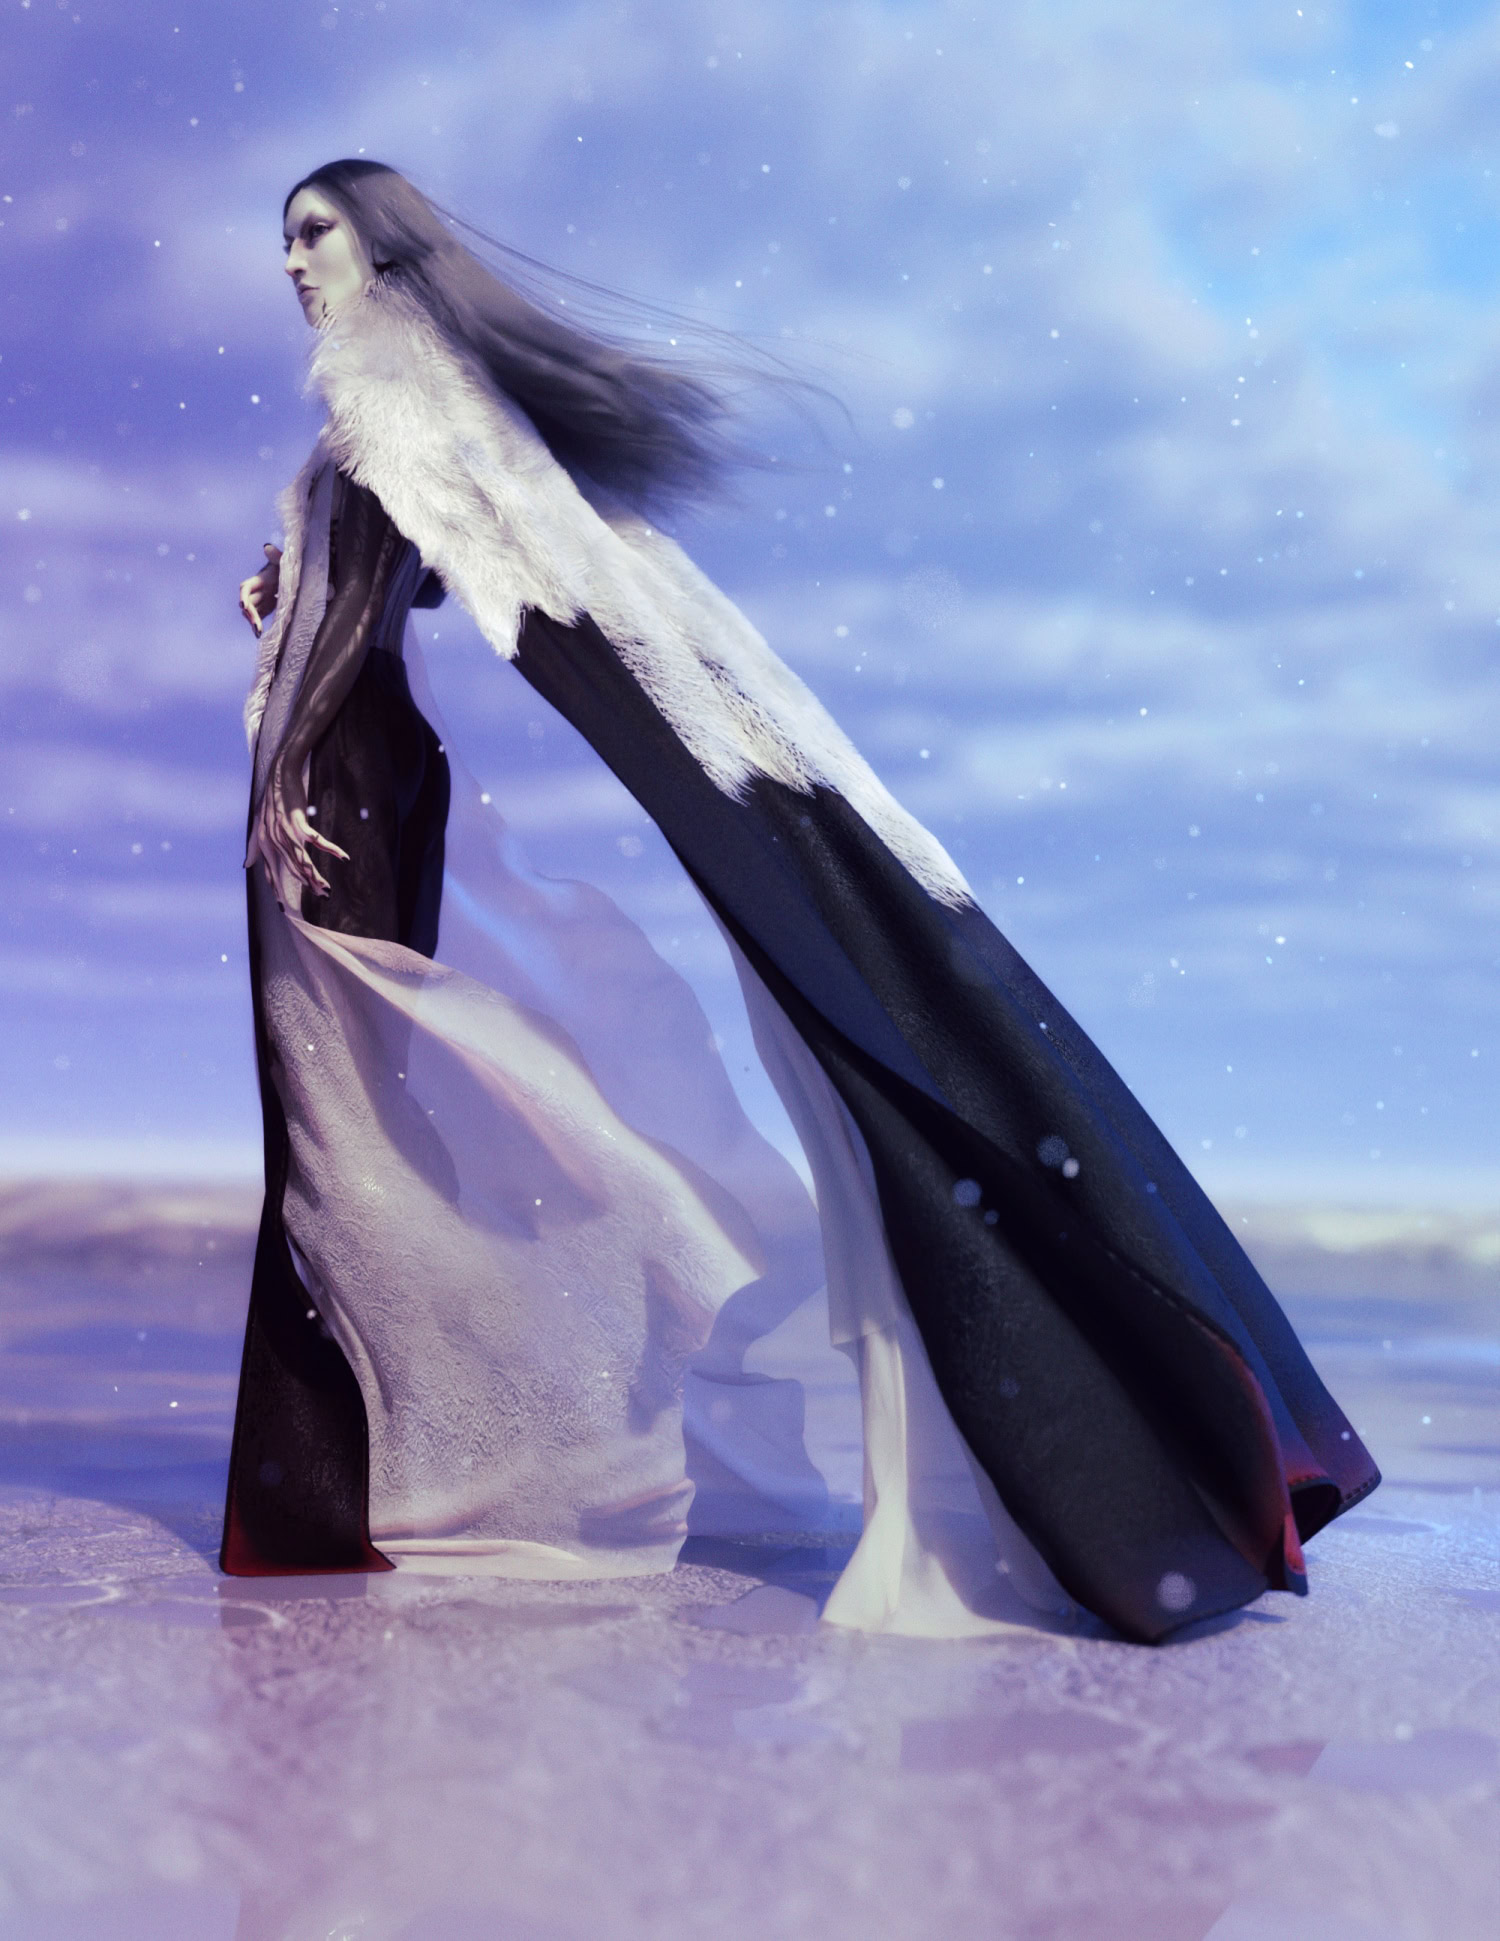
So much better.