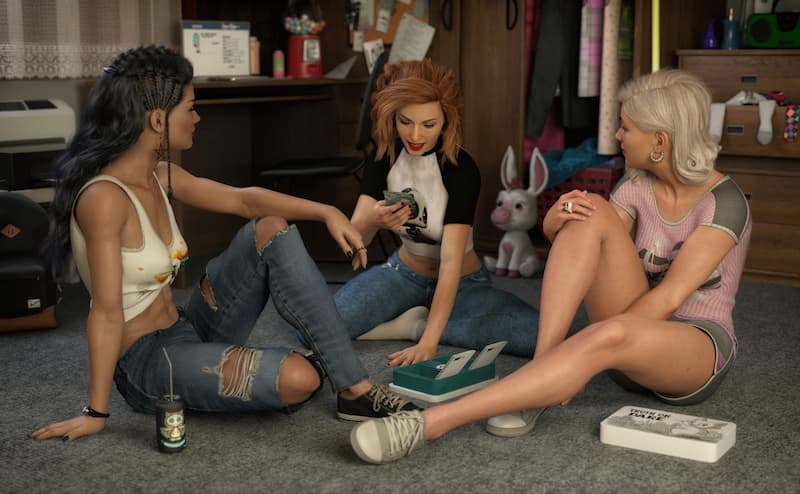
Cheat Sheet for Renders
1. Use HDRIs for Backgrounds, Not Just Lighting
Most artists use HDRIs just to light the scene — but they also make fantastic, photorealistic backgrounds!
- Set Environment Mode to
Dome and Scene - Rotate the dome so the lighting matches your camera angle
- Use “Dome Visible” if you want the HDRI in the final render
Pro Tip: Blue sky HDRIs create natural light and work great with skin tones.
2. Turn On Depth of Field (DOF) for Cinematic Focus
A focused subject with a soft background = instant realism.
- Select your camera > Depth of Field: ON
- Set Focal Distance to your character’s eyes
- Use F/Stop:
- 22 = sharp
- 8 = mild blur
- 2.8 = strong bokeh (cinematic)
3. Use the 3-Point Lighting Technique
The classic Key–Fill–Rim lighting setup adds depth and mood:
- Key Light: Main source, usually angled to one side
- Fill Light: Softer light from the opposite side, reduces shadows
- Rim Light: Placed behind subject for highlights and edge separation
Pro Tip: Use spotlights with “light geometry” for better control.
4. Use Tone Mapping for Dramatic Style
In Render Settings > Tone Mapping:
- Lower ISO or Exposure Value for moodier renders
- Use White Point to tint your scene (e.g., warm tone = orange)
This is your virtual camera setting — experiment with it like a photographer!
5. Kitbash with Compatible Assets
Sometimes the best scenes come from mixing sets creatively.
- Try combining outfits, parts, and poses from different products
- Use the Geometry Editor to hide unwanted elements
- Reuse morphs and shaders to give a consistent look

6. Render at 2x Resolution and Downscale
Render your image at twice the target resolution, then scale it down in post (e.g., Photoshop). It sharpens details and smooths edges — just like supersampling.
7. Use Volumetric Effects (Carefully)
Fog, god rays, and haze can add drama — but can slow renders. Try:
- A subtle fog cube or atmospheric camera
- Volumetric light through windows or trees
Use these in outdoor or fantasy scenes for storytelling.
Pro tip: use caustic sampler under Optimization, really nice for lighting with glass/VDB/fog. You have to recalcuate numbers for fog/vdb but it looks good. Only if you have good machine, because its heavy though and gives fireflies so required more tweaking. Don`t forget to use “bloom” effect as well, but again, be careful with it!
8. Improve Skin with Top Coat & Subsurface Tweaks
Great characters deserve great skin:
- Increase Subsurface Radius slightly for realism
- Use Top Coat Weight with subtle reflection
- Avoid over-glossy lips and eyelids unless stylized
9. Use Iray Section Planes for Creative Framing
You can cut through a scene without moving your models!
- Use Create > New Iray Section Plane
- Rotate and move it to slice into a room or object
This is perfect for comic book panels.
10. Save Render Settings as Presets
Once you find a good setup — lighting, tone mapping, and render quality — save it as a Render Settings Preset to reuse across scenes.
- Save time
- Maintain consistency across a project
- Easily test variations (moody, cinematic, natural)
Pro tip: If you want render only small part of the image, use “Spot Render”. You can use for checking things, but you can also use for fix, or postwork.
