What can we help you with?
How to Use L.I.E. (Layered Image Editor) in DAZ Studio
- Select the Character or Object:
- Open DAZ Studio and select the character or object whose texture you want to modify.
- Open the Surfaces Panel:
- Ensure the Surfaces panel is visible.
- If it’s not, go to Window > Panes (Tabs) > Surfaces to make it appear.
- Choose the Correct Surface:
- In the Surfaces panel, find the specific part of the character or object you want to modify (e.g., skin, face, body).
- Click on the surface name to select it.
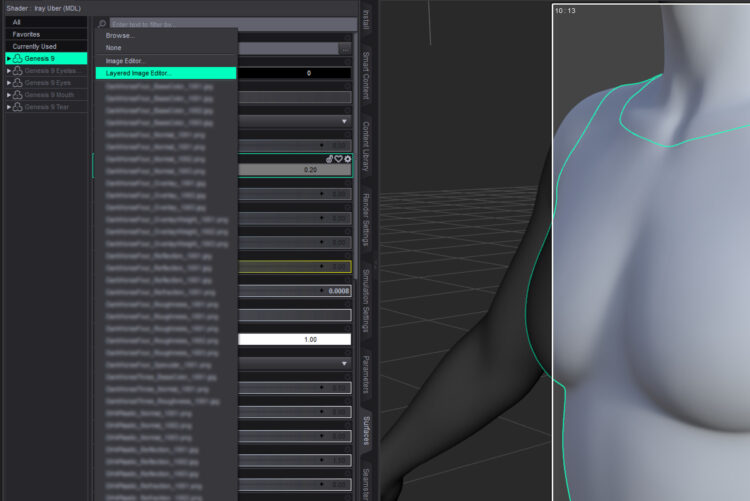
- Open the Texture Editor:
- Look for the texture property you want to modify, such as Base Color, Diffuse Color, or similar options.
- Click the small square next to the texture thumbnail (this opens a menu).
- Launch the Layered Image Editor (L.I.E.):
- From the menu, select Layered Image Editor.
- A new window will open, allowing you to add layers to the texture.
- Add a New Layer:
- In the L.I.E. window, click + Add Image Layer.
- Browse and load the desired image file (e.g., a tattoo, scar, makeup in PNG format with transparency).
- The new layer will appear on top of the base texture.
- Adjust the Layer:
- Use the L.I.E. tools to:
- Scale: Resize the layer to fit the desired area.
- Position: Move the layer into place.
- Opacity: Adjust transparency to blend it with the base texture.
- You can play with other settings, like Multiply, or Screen blending mode too.
- Use the L.I.E. tools to:
- Save Your Changes:
- Click Accept in the L.I.E. window to apply the changes and close the editor.
- Preview Your Result:
- Return to the main viewport in DAZ Studio.
- Switch to Iray Preview mode (top-right of the viewport) to see the final result with lighting and materials applied.


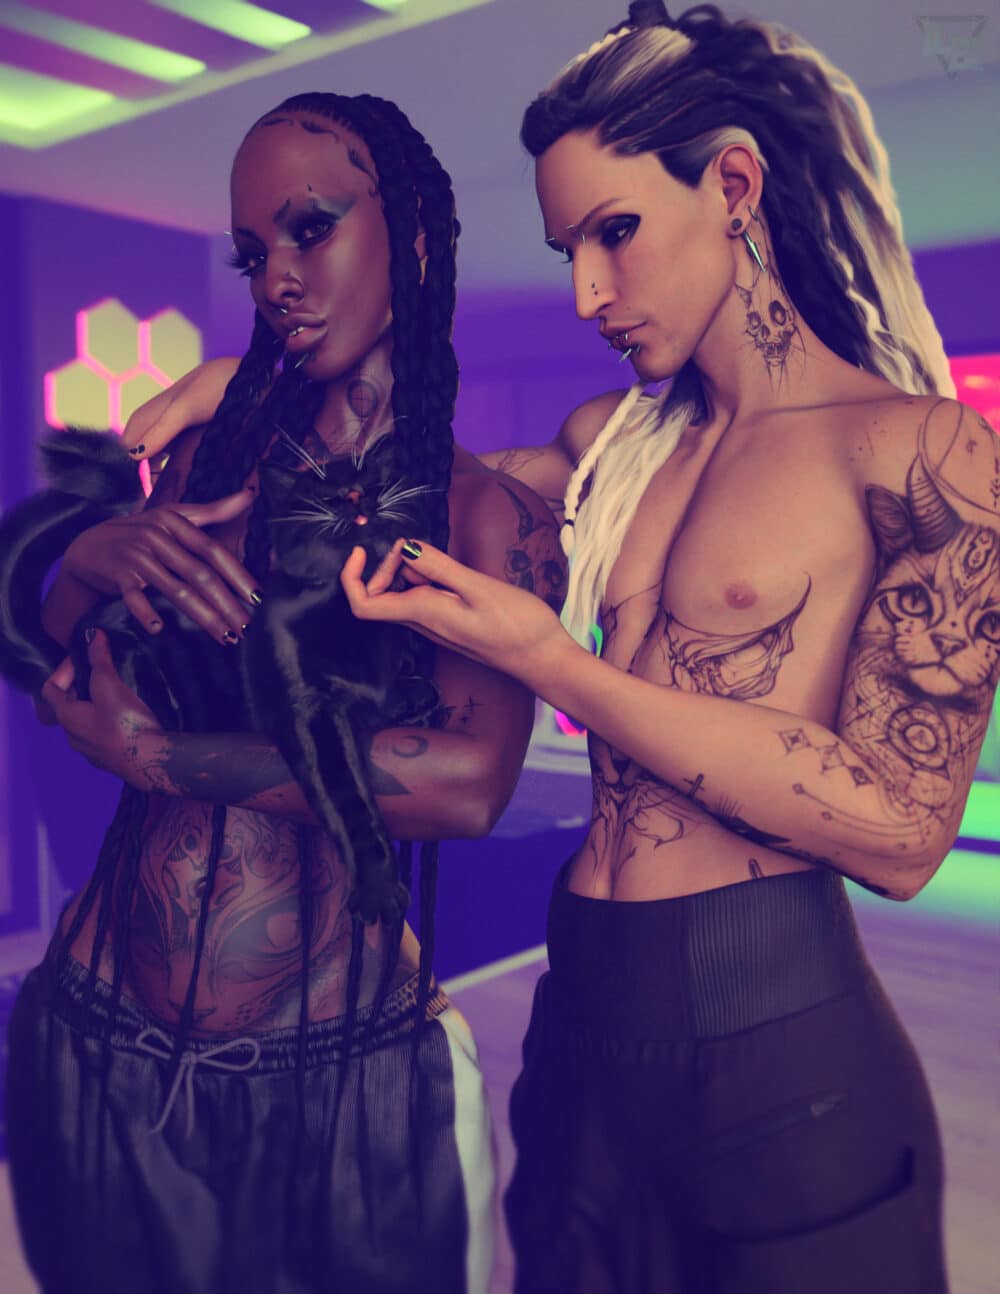
Check Feline L.I.E. Tattooes for G9